
Installing a rifle sight is not as simple as attaching it to your Picatinny rail and calling it a day. There are many little details that will help with the installation process. We spoke with all of our scope/shooting experts here at Arory and gathered what we feel are the most important things to consider when mounting a rifle scope.
We are going to cover a lot of territory here today in regards to the proper way to install your new or old rifle scope. Hopefully, after reading you will have the confidence and wherewithal to tackle this somewhat difficult task.
There are about a dozen different ways to do everything that I am going to discuss in this article, these suggestions are not necessarily the right way or the best way. My goal is to show you the simplest way that will work for the majority of shooters. For those who are long-range competition or precision shooters, these tips you may find a little basic but I still suggest you read through them. Most competition shooters are already familiar with the fundamentals and like adding their own personalized adjustments. I will discuss some more advanced mounting and sighting tips in a future post.
What rifle scope mounting rings and mounts do I need for my scope
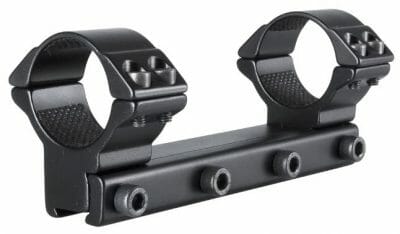
How to put scope mounts on a rifle can be difficult or confusing if you have never installed them before. Before we get into actually installing the scope let’s discuss scope rings and mounts. Figuring out what type of scope rings and mounts are needed can often be an afterthought and is certainly not the most fun part of installing a scope. But this hardware is super important and should not be overlooked.
Our shooting teachers at Arory have seen many shooting issues that are due to bad mounts or good mounts that were not properly installed. I won’t go through all of the possibilities here, but I will touch on a few of the most important ones.
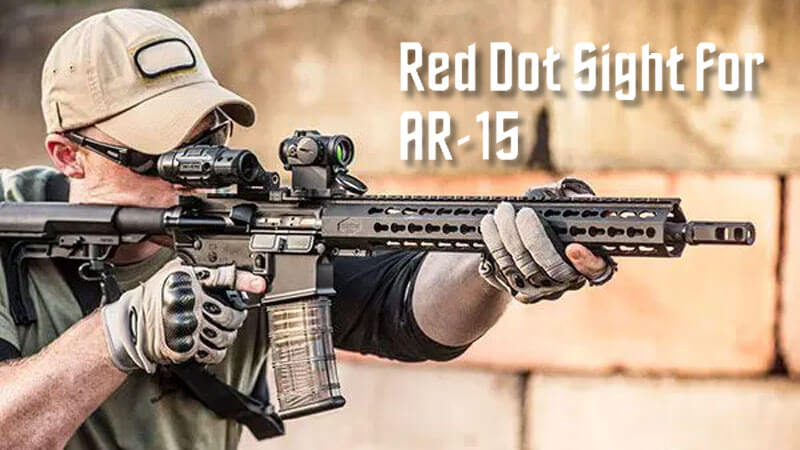
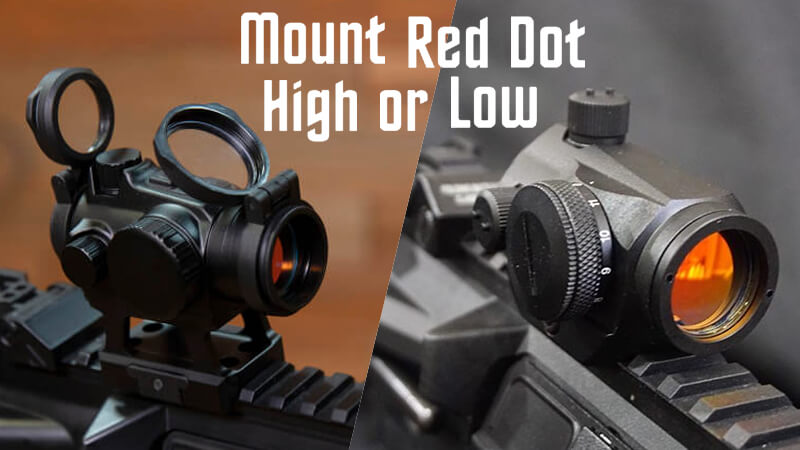
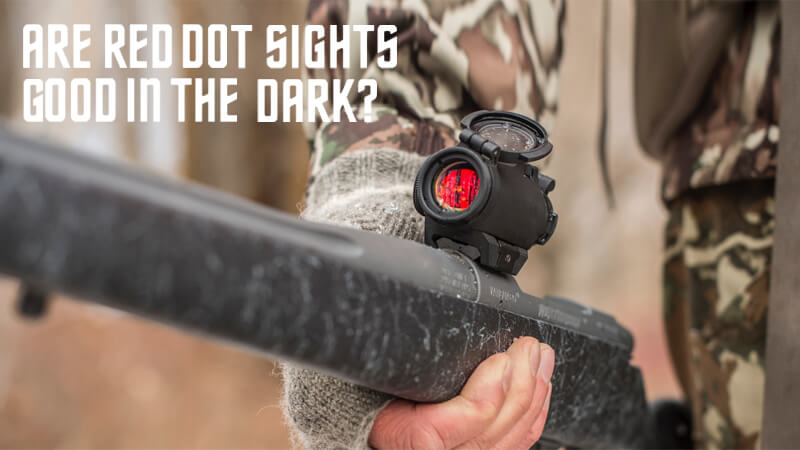
If you are using a red dot or some other non-magnified optic it will probably come with a mount. These types of scopes do not need scope rings, you can just attach them directly to the mount with screws. The mount that comes with the red dot sights is usually fine unless you want to raise or lower the height of the sight. If you have one of these non-magnified scopes then you will be able to skip a lot of the installation tips.
Generally speaking, you want your scope to be as low to the receiver as you can get it. That will help maintain a solid position (or cheek weld) so that every time you line up a target your eyes are in the proper position which is directly behind the scope.
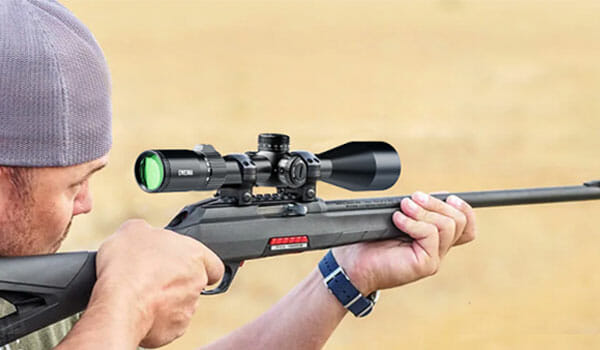
With a magnified optic, you do not want the objective end (end facing your target) to be touching the barrel of your rifle. You want to have a little bit of space between them. So, when you are choosing your scope rings you generally want to purchase the lowest ring possible that still allows there to be some space between your scope objective and the barrel. If you must purchase higher rings in order to get that clearance then you may need to add a cheek riser to your stock.
Cheap versus affordable versus premium scope mounts
Let’s talk a little about quality and cost. You can get a pair of cheap scope rings for 8 or 10 dollars or you can spend 400 dollars on a top-of-the-line mount that will hold zero even through a hurricane.
Choosing mounting hardware is very similar to choosing the optics you put them in. You really never want to get the cheapest you can find because it’s almost always junk. Fortunately, these days you really don’t need to spend a lot to get a decent mount.
If you are looking for basic one-piece mounts there are a plethora of options. I would say the price range for an acceptable mount is between 50-100 dollars. Most of us will be satisfied with the mounts in this price range.
If you are one of those precision competition shooters, your scope gets knocked around a lot, or your gun has a big recoil, then you may want to purchase a more premium mount.
What tools are needed to install a rifle scope?
These are a few tools you can use to make mounting much easier, you by no means need them and you can mount your scope without any of them.
- Torque driver in inch-pounds
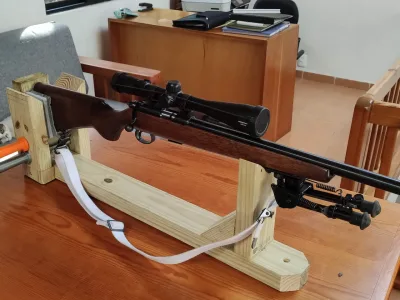
- Rifle rest/gun vise
- Small bubble level
- A marker or nail polish
A torque driver is great and I feel like there is really no substitute. A lot of people get away without using one but I personally refuse to mount an optic without one. If you feel like you are going to mount more than a couple of scopes in your lifetime a torque driver is a worthwhile investment.
The level and marker are both cheap and widely available so there is really no reason not to have them when you are mounting a scope.
For a rifle rest, you can go on YouTube and make your own if you are trying to save some money. As long as the rifle rest (you make or purchase) holds the gun upright, level, and keeps the gun from moving around while you are working on it then it is a good one.
Rifle Mounting – Safety Check
The absolute first step is to clear the rifle (make sure it is not loaded) and don’t forget to check the chamber. Wherever you are doing the mounting make sure the rifle is pointed in a safe direction.
Some scopes you need to attach your base to the receiver. The base is the thing that your scope is going to mount to. If you have an AR style rifle then you can skip this step because they come preinstalled.
Does your rifle need a scope base?
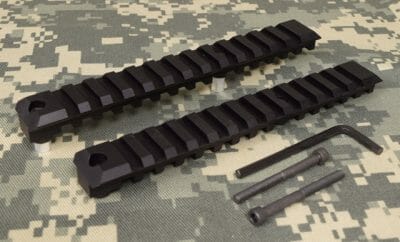
Most AR’s and other semi-automatic rifles have what is called a 1913 mil standard Picatinny rail machined into the top of the receiver. These rails are compatible with a wide variety of accessories which include Picatinny optic mounts.
What if my rifle does not have a Picatinny rail or some other compatible scope base?
Well, the simple answer is that you will need to add one before you mount anything. Just be aware that some older rifles may not be drilled or tapped to accept scope bases which means you will need to consult a gunsmith.
Placement of the mount and optic
So, after you confirmed what base you have, and consulted your optics user manual, the first thing that will need to be done is just simply place your mount on top of the base. You won’t know the exact placement so just initially put it as far back as it will go. Then very lightly tighten down the bolts, do not torque down because they will need to be moved around until you find the proper positioning.
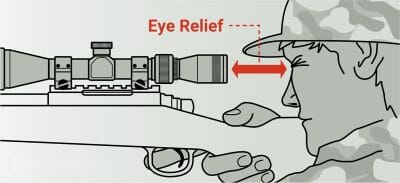
There are two main things I always keep in the back of my mind when mounting a scope. The first is eye relief (distance from optics to your eyeball) and the second is the “cant” of the scope which is the side-to-side positioning.
Setting eye relief
Proper eye relief is different for every shooter so there is no quick and easy universal way to do this. But there are a few that will help you get that perfect eye relief.
The eye relief is more sensitive when the scope is set at full magnification so this is where we want to start. Increase your scope to full magnification then look through your scope (preferably at a blank wall) as if you were about to take a shot.
What you are looking for is a crisp full image. You do not want a blurry image or black ring/shadow in your field of view. If you do then you will need to slide the scope forward or backward until you get a full image that is crisp and clear.
How to level your rifle scope optic
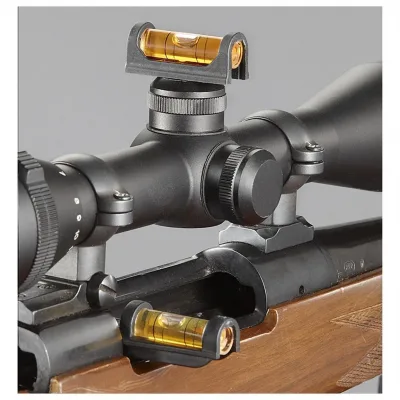
Before we torque down the ring screws, we need to level the scope. That is where the handy bubble level tool comes into play. Unfortunately, we cannot just stick the level on top of the scope.
First and most importantly we need to make sure the rifle is level. This is easier said than done, you need to find a flat spot on your gun where your level can fit. Once you find that flat spot you can begin adjusting it until it is level.
Once you know that your gun is level you can check your scope. What I like to do is place the level on the turrets of the scope, but before doing so make sure you take the caps off.
Once your level is placed on the scope make your adjustments then go back and check your rifle one more time to make sure you did not bump your scope. If everything is level then you can torque down your scope ring bolts.
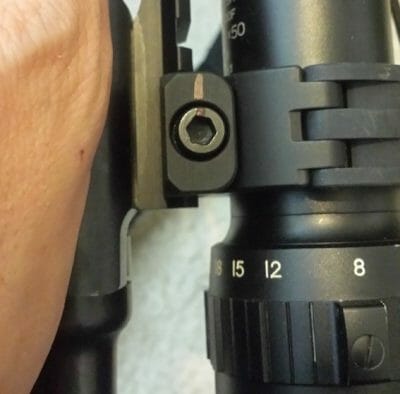
Do I need to add witness marks to my scope
Yes, you should.
Now that your scope is mounted, take your nail polish or marker and make a line or a dot on each screw of the mount and then make a dot on the mount right next to the screw. This is done so that you can see if the screw is loosening since the markings will no longer line up with each other.
Now you are ready
Hopefully, you found this article helpful. With a few simple tricks and practice, mounting your scope shouldn’t be too difficult.


Leave A Comment
You must be logged in to post a comment.