When looking through your rifle sight, you may see an inconsistent image. Or when you crank it up to maximum magnification, you’re losing image quality, or the image is looking milky dim. This could be because you don’t have enough eye relief, your scope may have been installed at the incorrect height, or your eye simply isn’t in line with that scope.
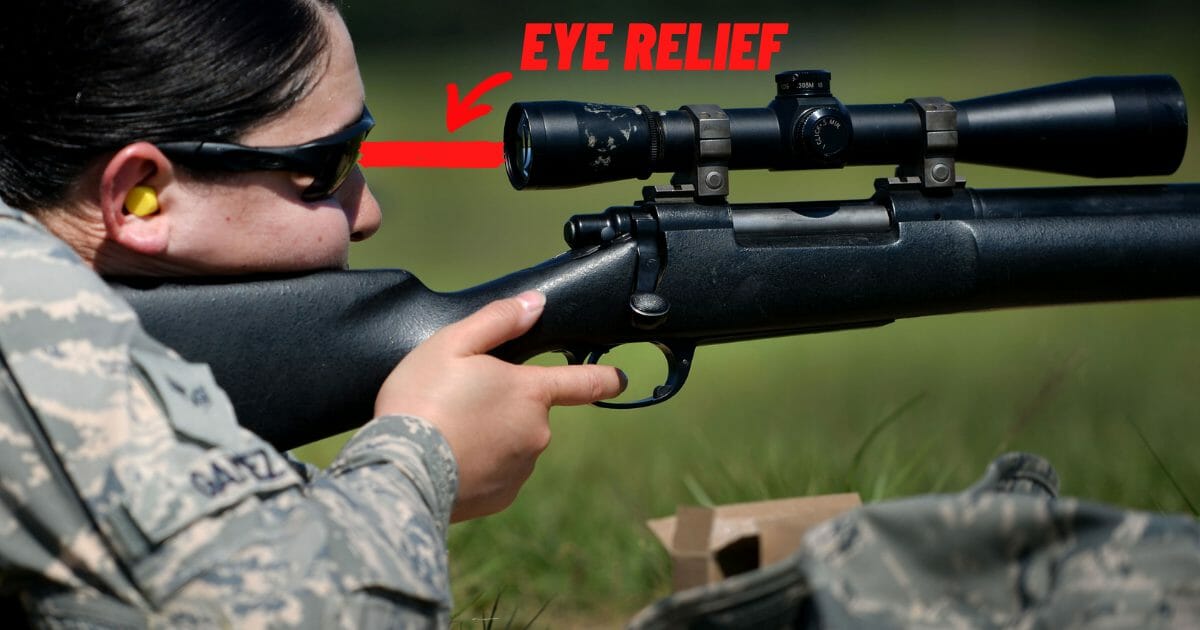
The eye relief of a scope is the distance your eye must be from the lens to receive a clear and full image from the scope. You lose clarity as you move further back or ahead. The best technique to measure it is determined by why you want to measure eye relief in the first place.
One of the most common things we see at Arory is when someone purchases a scope with a large objective or they have scope rings that are very high, they have trouble getting their face directly in line with the scope. Our biggest recommendation (if it’s not possible to purchase a lower set of rings) would be to purchase an adjustable cheek rest.
What a cheek rest does is bring your face up so it’s directly in line with the optics, so throughout the scope’s full range of magnification, you have your eyes directly in line with the scope. This way, we know we are getting the most out of our optical performance system.
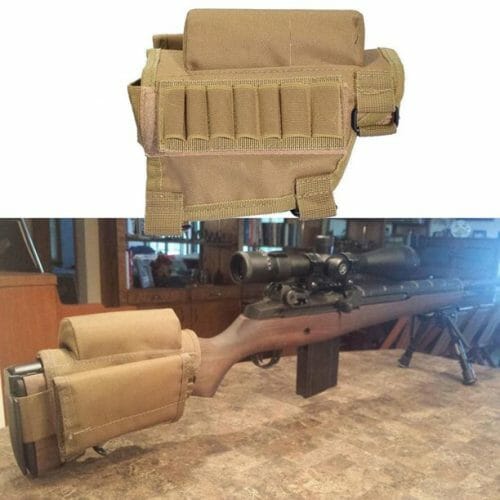
Now the opposite problem can happen as well, most shooters like to get their scopes as low to the bore as possible because ultimately this is usually the goal, but understand if your rifle has a high cheek weld and you can’t get behind your scope properly then you may experience some image problems.
What is eye relief
Eye relief essentially is the distance between your eye and the scope. When you set up to shoot your rifle and you look through the scope, you should have a full sight picture from edge to edge. Feel free to move the rifle scope forward or backward depending on how it fits you.
Often when first looking through a new scope and adjusting it you will see a black ring around the edges. This black ring is called a “doughnut” the objective when adjusting eye relief is to eliminate the doughnut.

Before you set your eye relief, consider what magnification you will be using the most. In addition to magnification, you also want to think about your body position. What position do you prefer to shoot in? Is it in a prone position, standing, or sitting? These will all play a factor when adjusting your eye relief because the scope is going to change relative to your body position.
If you are seated on a bench, your face will often be much closer to the gun. If you’re lying down in the prone position, your face will be further away and if you’re standing, the distance from the scope will be somewhere in between.
First, we need to consider what is the purpose of the rifle and what are we going to be doing with it. When setting eye relief, we want to set it for prone position shooting and turn up the magnification.
The reason we want to use maximum magnification is that this is when your eye relief is at its shortest and when we are lying down in the prone position the distance from the scope is at its furthest. This allows us (when necessary) to decrease the power on the scope without noticing major changes in image quality.
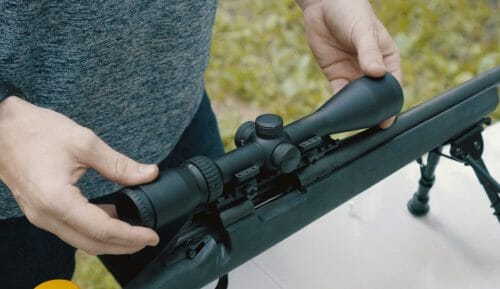
Get down in the prone position with the magnification set at its highest. Now what you want to do is slide the scope in the rings all the way forward, while looking through the scope begin slowly moving the scope backward towards your face until that black donut disappears. When that black ring disappears as you’re moving the scope back towards your face, and you have edge-to-edge image clarity, this is when you know you have your eye relief set.
How to increase eye relief on a scope
When you are looking to increase eye relief on a scope, it is often because the scope is moved too far back within the rings, so the first place you want to start is by loosening the rings, as you’re looking through the scope start slowly moving it forward. If your scope is already positioned in the most forward position, then that usually means that your scope mounting rings need to be reinstalled in a more forward position.
How to avoid scope bite
First off, let’s talk about what scope bite is for those who have never experienced it. Scope bite is typically found out by newer shooters but can also happen to us experienced shooters, especially when grabbing a rifle that maybe we’re not used to or have never shot before. Scope bite is actually exactly how it sounds, It occurs when your eye is too close to the scope and when you fire the rifle the recoil kicks back causing the scope to “bite” you in the eye. The scope will usually make contact around the eyebrow or right between the eyes sometimes cutting you or leaving a massive welt looking like you just lost a heavyweight fight. Firing your own rifle is the easiest way to avoid this; if you are not shooting your personal setup, be extra cautious.
What scope has the best eye relief
There are many amazing scopes on the market these days, most with great eye relief. But we are looking for the best! So, let’s try to narrow down the field to the top 5. This list is obviously just my opinion, so if I left off your favorite scope let me apologize in advance. The list was compiled by taking into account budget, quality, performance, and, of course, eye relief. These scopes were all tested by our shooting experts here at Arory.
- Arory Tactical 4-16×44 (I’m a little biased)
- Vortex Optics Crossfire II 4-16X50 AO BDC (MOA) Riflescope
- Burris Scout 2-7×32 mm Rifle Scope, 1″ Tube, Second Focal Plane
- FX-II Scout IER 2.5x28mm
- Leupold VX-3 Handgun 2.5-8X33
Hopefully, these suggestions get you started in the right direction. Having a good scope with around a 4” eye relief is a great place to begin and will eliminate many image issues when out at the range or when targeting that trophy buck.


A scope bit me once, not a good time haha. Definitely pay attention to your eye relief folks.